4 minutes
Let’s Kill This MacBook! - How to Mine Monero on a Mac

My friend’s Mac is nearing its end
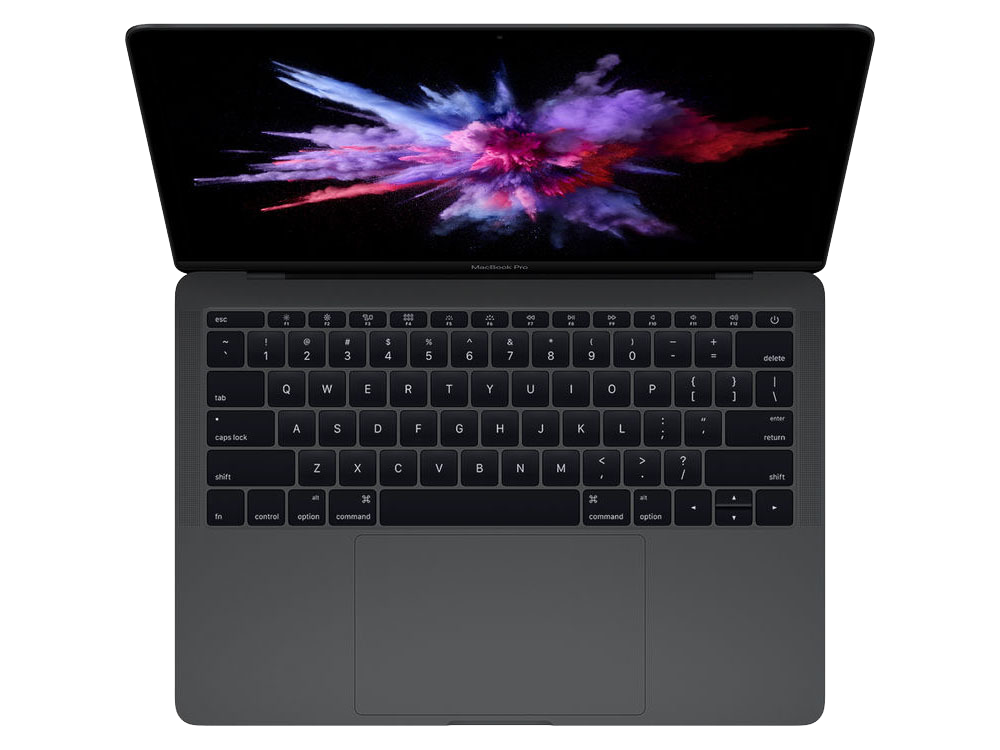
He’s already had it, the one in the picture above, for a couple of years, and the battery is starting to degrade among several other serious issues. Since it is nearing its end soon, in the time that it isn’t being used it could mine some cryptocurrency.
MacBooks are known for their subpar cooling systems as demonstrated in this video. We are going to set up this mac for mining Monero(XMR), a type of cryptocurrency that can be mined with a CPU. He is only going to earn a couple pennies per day, but it’s better than nothing. I don’t know how he’ll be able to sleep through the insane fan noise. Maybe he’ll have to run an extension cable to his closet.

Disclaimer
You have been warned that there are risks such as damage to the computer keeping it at a high temperature for long periods of time.
It is barely profitable to do this on a laptop.
Pools usually have a minimum of 0.1 XMR payout, so it would take at least a couple of months to be able to withdraw the Monero if using a laptop.
Please do this at your own risk.
Installing xmrig
Open the terminal application on your mac and copy and paste the code below into it, step by step.
Install Homebrew, a package manager for macOS:
/bin/bash -c "$(curl -fsSL https://raw.githubusercontent.com/Homebrew/install/master/install.sh)"
Install the required dependencies with Homebrew:
brew install git cmake libuv libmicrohttpd openssl hwloc
Clone, or in other words, save the xmrig mining software to your computer with git:
git clone https://github.com/xmrig/xmrig.git
Make the build directory inside of the xmrig directory:
mkdir xmrig/build
Navigate into the build directory inside xmrig:
cd xmrig/build
Build the program with cmake, then make:
cmake .. -DOPENSSL_ROOT_DIR=/usr/local/opt/openssl
make -j$(sysctl -n hw.logicalcpu)
Generating the xmrig config code
The people over at xmrig made a fantastic configuration wizard which helps create a line of code to start the miner.
Open the xmrig configuration wizard
Click the New configuration button.
Press on the Add pool button.
Click on your pool of choice in the dropdown. I use the supporxmr.com pool.
Then there will be a pop-up where it asks for the Monero wallet address, where you type in your wallet. You can also choose to set a Worker name, something like MacBookPro13.
Navigate to the Backends tab and only turn on the CPU option. You can use a GPU if you have one, but I don’t recommend it as there are far more profitable currencies to mine with a GPU.
Next, select the Misc tab and set a donation percentage, I chose to leave the HTTP API option off.
Finally, navigate to the Result tab, click on macOS option under the Command line. Copy the line of code.
Making an executable shell script
While this is not a required step, I recommend that you do it for ease of use.
Go back to the terminal app.
If it is still open, navigate to the user(~) directory:
cd .. && cd ..
If you reopened it, double check that you are in the ~ directory.
Create a shell script called xmr:
touch xmr.sh
Make it executable:
chmod +x xmr.sh
Edit the shell script to make it navigate to the xmrig/build directory, and start the miner from there:
nano xmr.sh
A basic text editor will show up.
Type the following into it, each on a separate line:
cd xmrig/build
copy and paste the code that we generated earlier from the configurator
Press control x, and then press y followed by enter to save the edits made to the file.
Running the shell script
It’s actually really easy, type the following into terminal from the ~ directory, which is the default when you open Terminal:
./xmr.sh
To stop the program press control c.
You can monitor all sorts of statistics on the pool’s home page, logging in with your wallet address.
Updating xmrig
Navigate to the build directory:
cd xmrig/build
Update using the git pull command:
git pull